How to install IMAJE 9018 inkjet printer crack board?
We unplugged the line installed here: Then install it: It’s installed: Once installed, we’ll plug it in in the original line-up: The cracker board is plugged in.


We unplugged the line installed here: Then install it: It’s installed: Once installed, we’ll plug it in in the original line-up: The cracker board is plugged in.
We click on Password: Then we must hold down this advanced password button for more than three seconds, and release it: Then we enter the current password: The current password is the password for this date: Then we enter the advanced password and click OK: “Password modification successfully” appears on the screen: In this case, let’s click on this fault: There’s a “Clear All” button here, and we can click on it: This fault has been cleared:
It will report a lot of warnings, such as the power failure of the nozzle, and a series of failures such as the high ink level detected by the solvent, If the power is turned on and the screen only shows when the pump is not running, so many warnings will be given: In general, there may be a problem with the board on this side of the nozzle:
We put all the wires aside and plug the motherboard in directly: Put the screws on: Plug in the lines: Once the wiring is plugged in, the motherboard is installed. If you take apart the high-pressure package, just remove the two screws on the back: These two screws, is fixed high-pressure package, these two screws removed, high-pressure bag can be removed. If we remove the pipe, we only need to remove the following four screws: Then, as soon as you take it from below, it will fall off. And then there’s the line: The wire is on the side of our machine, and we pull it out, and then we cross it from there, and the pipe can be removed: Let’s see how the ink core is installed, Let’s take it off: Don’t lose the O-ring inside. Then we’ll take the ink core up: Then we open the plug on this side: Then, fit them, insert the slots, and then install the three screws on the top and tighten them: Here’s a line, and we plug it in, and the line is above the pipe: Once we’ve plugged it in, let’s put it in: Then there are two screws: Plug the pipe, and then, on the fan, try not to let it rub against the cable: Do not install the baffle. Let’s test whether the ink core is installed. First power on, then let’s run it
Let’s see how this nozzle is removed, unscrew the screw: Then the nozzle was removed: The installation is the same, get it stuck, and tighten the screw: If you want to remove the recycling tank, first unplug the line on the rear sprinkler board, then remove the screw, and then pull the recycling tank out: Let’s see how the sprinkler board is replaced, and we’ll first remove the four screws: Then we take off the four screws above: Then this one can be taken away: There is a nozzle solenoid valve here, if we want to remove it, put it on top of two screws can be removed as soon as it is loose: It’s the same when you install it, just get stuck in it and tighten the screws. Let’s look at the back, we take the back cover off, the circuit board is here. Remove a few screws from the back cover, you can open the lid: Then unplug the line and the lid can be taken down: Then, if we want to take this board apart, we just need to unplug the wire: This row is directly connected to the recycling tank, if you want to remove the recycling tank, first remove this row, and then loosen the screw, and then pull the recycling tank out: Let’s look at the circuit board, and the two screws on it can be removed: We took the line down, pulled
We have produced a lot of text and video materials in response to the problem that many users are not familiar with the use and maintenance of inkjet printers. We will explain each model by model. I hope that everyone will read my text information and find the video or text of the technical guidance you need. These text and video materials include equipment repairs and replacement parts, and some routine troubleshooting. There are also videos of the installation and debugging of some equipment. The overall length is relatively long, you can use the search function to directly find the text or video you need, such as searching with keywords. The first one is the understanding of the accessories of Domino GP-A120/A220 series. The following video will have the names of the main accessories of the machine. The following videos are the repair and assembly of Domino GP-A120/A220 series machines: 1. Domino A120 assembly video-valve assembly-module pipeline and sensor assembly-viscometer assembly-pump cleaning and assembly-liquid level sensor replacement 2.Domino A120 assembly video-Viscometer troubleshooting 3.Domino A120 assembly video-ink flow 4.Domino A120 assembly video-valve cleaning and precautions 5.Domino A120 assembly video-Ink diverter block explanation-

Learn how to get more coding industry solutions that we share with our private newsletter subscribers.

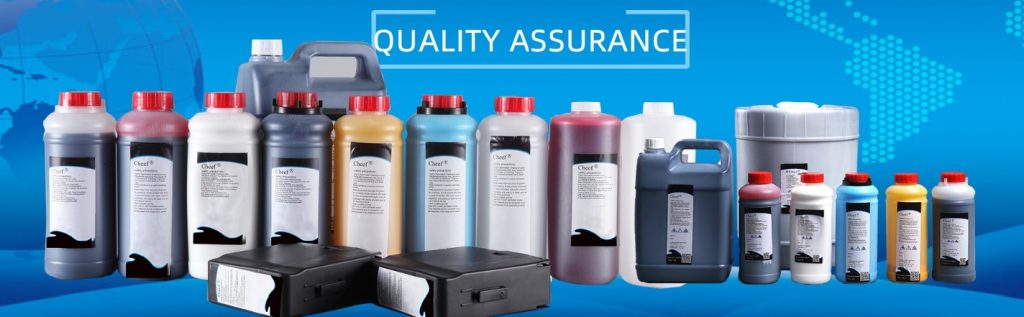
Cheef inks are with good quality ,we developing the ink all the time! Already done more than 10 years! Contact us Now to get more information! One-Stop Solutions at Coding Industry Provided with you!