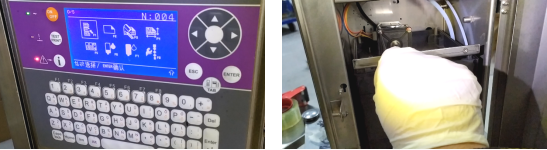

We put all the wires aside and plug the motherboard in directly:
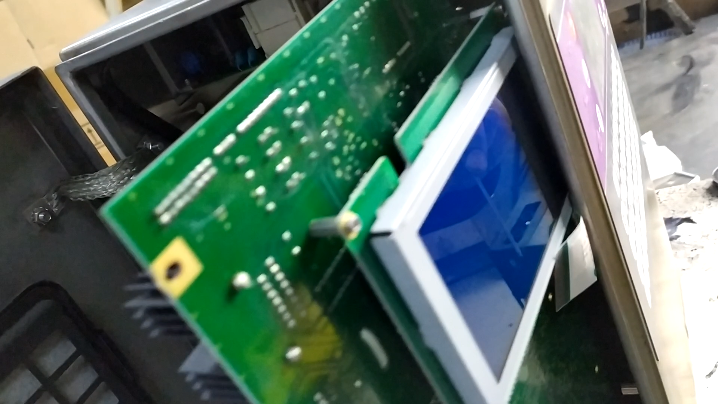
Put the screws on:
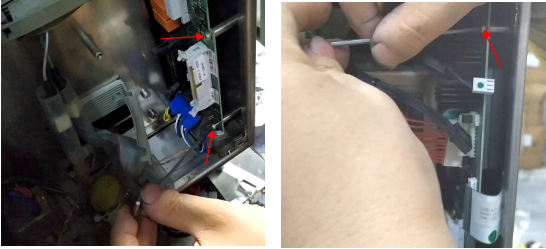
Plug in the lines:
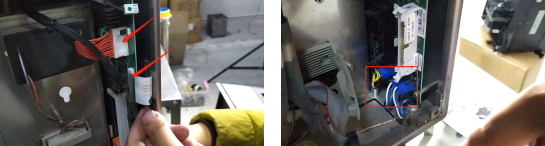
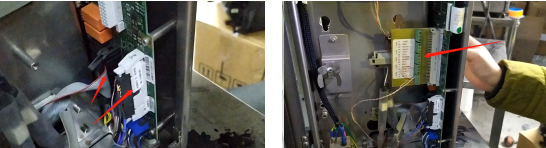
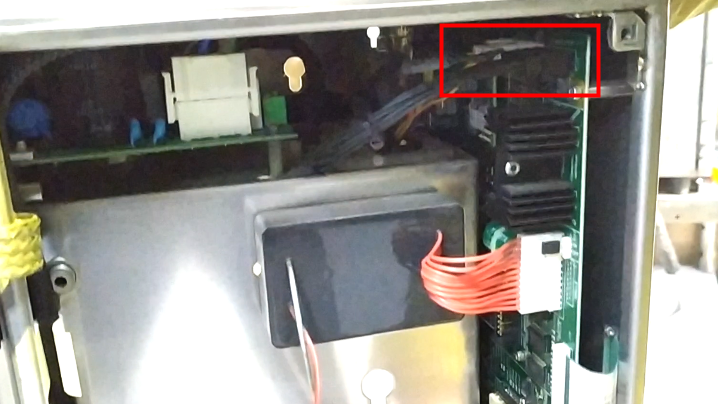
Once the wiring is plugged in, the motherboard is installed.
If you take apart the high-pressure package, just remove the two screws on the back:
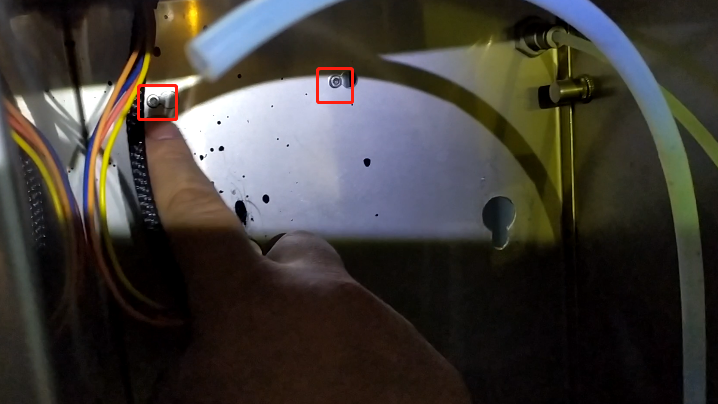
These two screws, is fixed high-pressure package, these two screws removed, high-pressure bag can be removed.
If we remove the pipe, we only need to remove the following four screws:
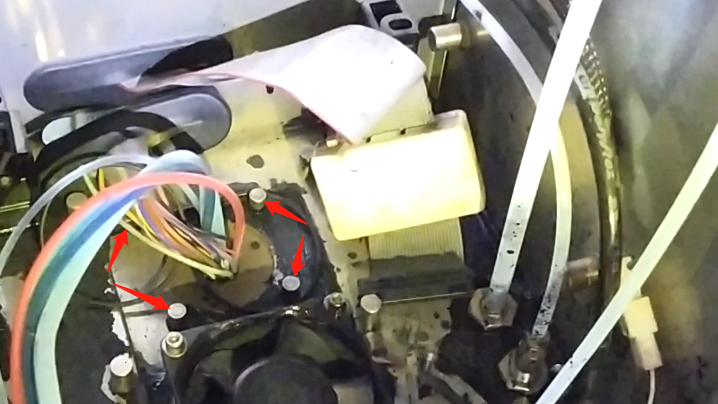
Then, as soon as you take it from below, it will fall off.
And then there’s the line:
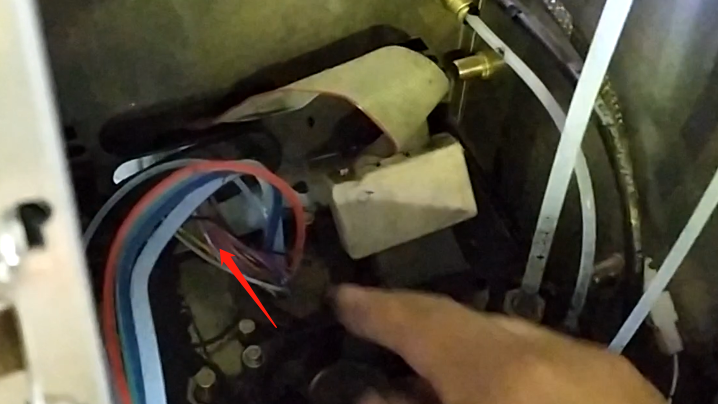
The wire is on the side of our machine, and we pull it out, and then we cross it from there, and the pipe can be removed:
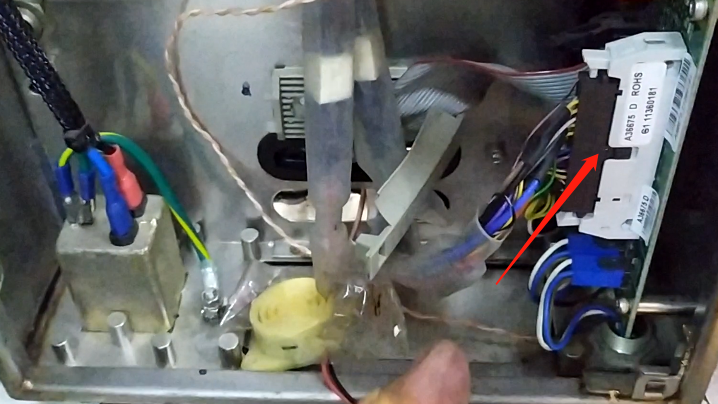
Let’s see how the ink core is installed,
Let’s take it off:
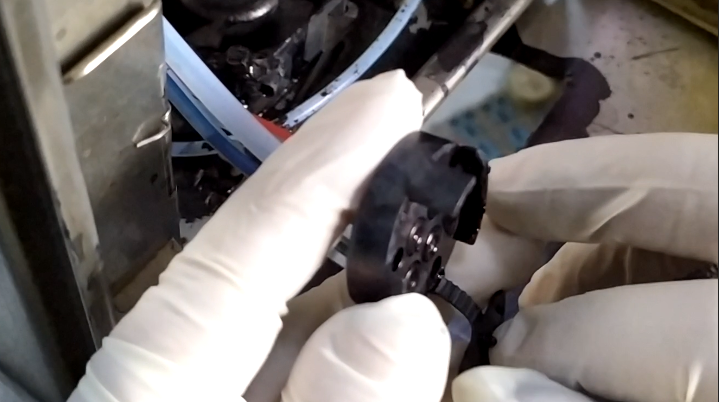
Don’t lose the O-ring inside.
Then we’ll take the ink core up:
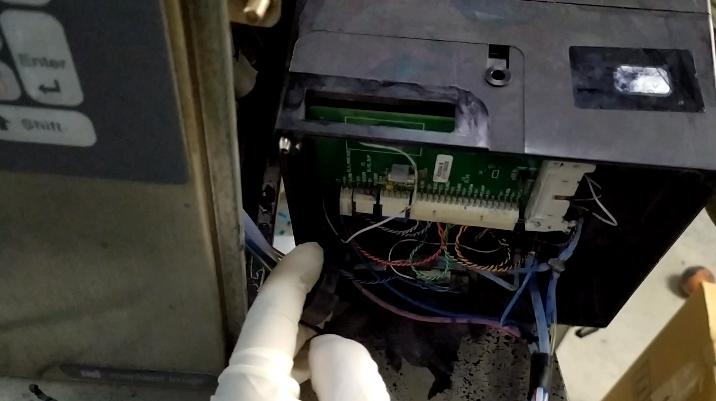
Then we open the plug on this side:
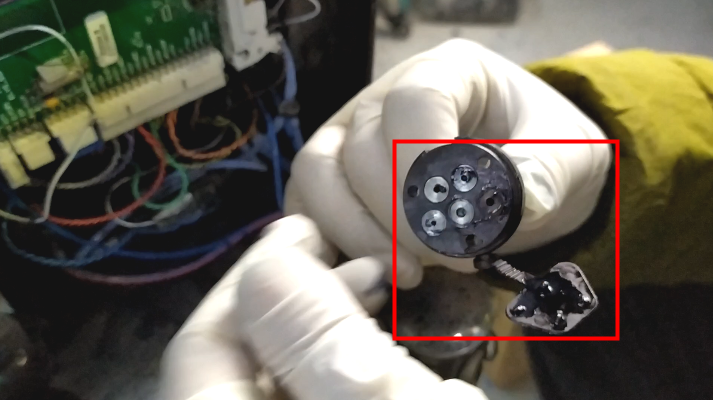
Then, fit them, insert the slots, and then install the three screws on the top and tighten them:
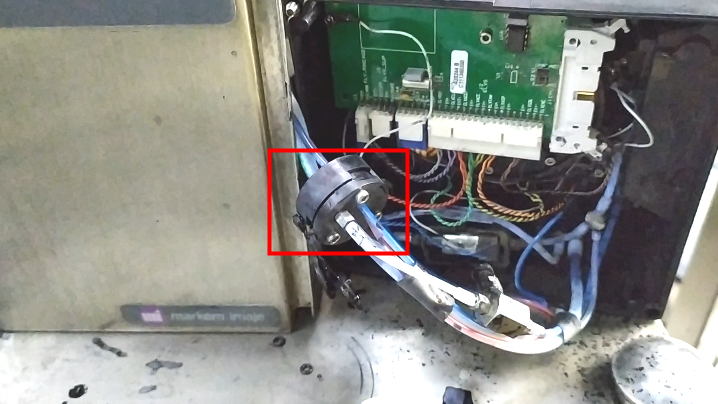
Here’s a line, and we plug it in, and the line is above the pipe:
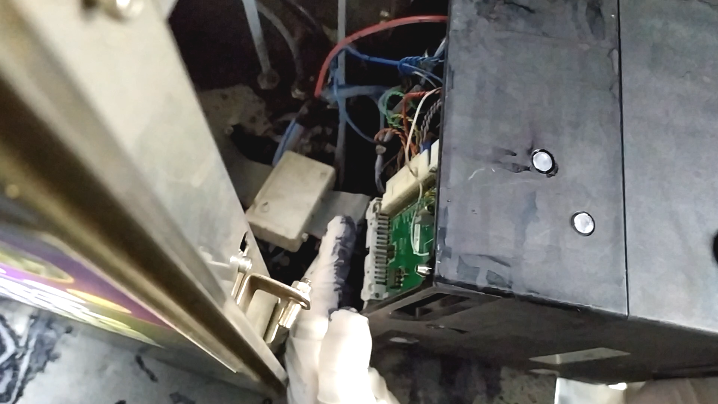
Once we’ve plugged it in, let’s put it in:
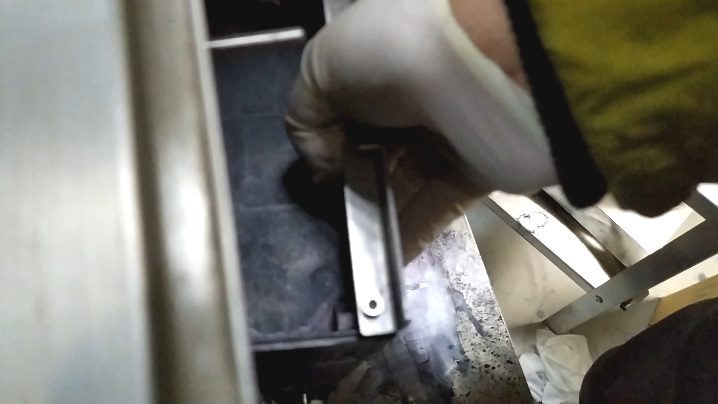
Then there are two screws:
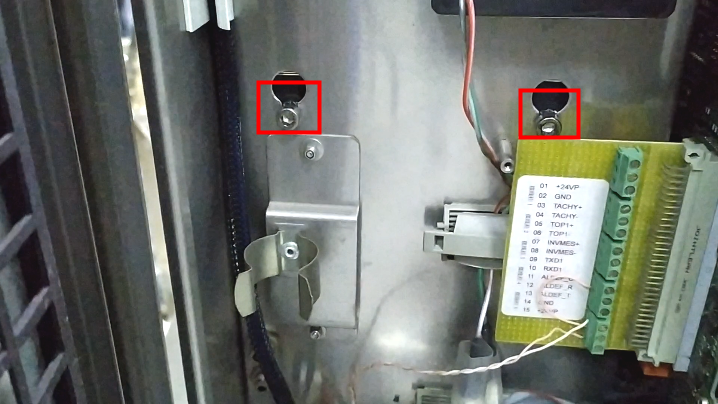
Plug the pipe, and then, on the fan, try not to let it rub against the cable:
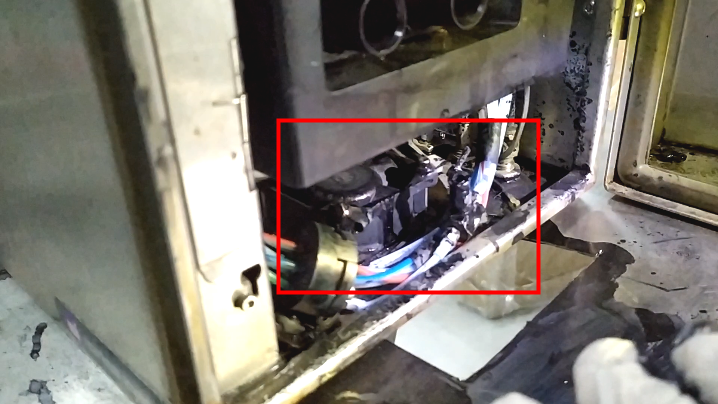
Do not install the baffle. Let’s test whether the ink core is installed.
First power on, then let’s run it directly to see if we can skip 5 steps and see how the motor is installed:
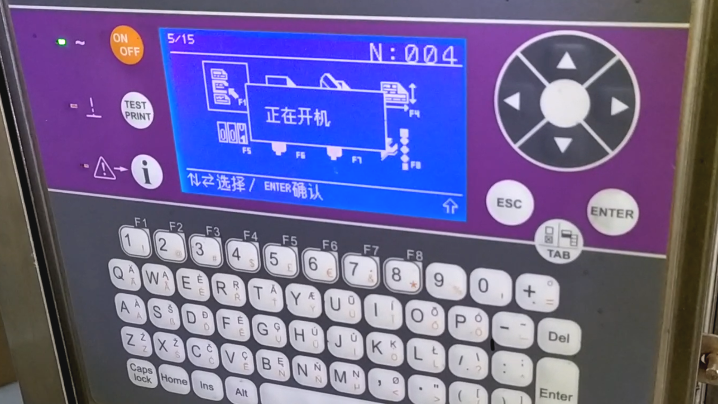
If O / S is displayed, it means that the motor is not adjusted properly, so it is necessary to adjust the motor: