

Let’s take a look at how to install the mixing cylinder of the 9029 machine
Let’s install the solvent pump first,
Get it on first:
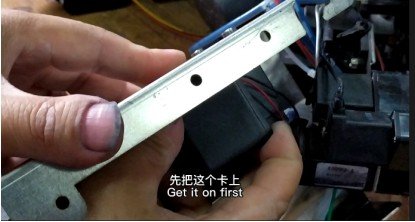
The screws should be loosened a little, not so tight:
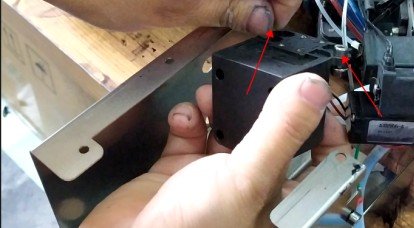
Then we’ll tighten it up:
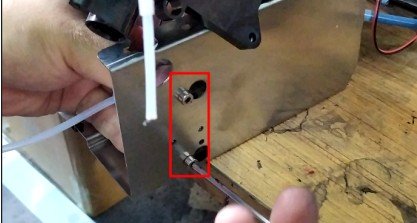
Then we put this fixed block down,be careful when placing
Pay attention to the lower wires when installing
Then install it like this:
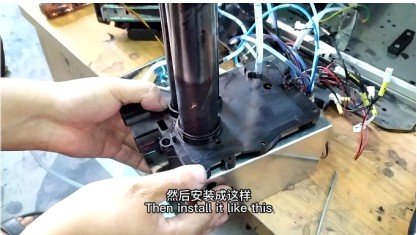
You can install the holders
These fixed bars are so installed:
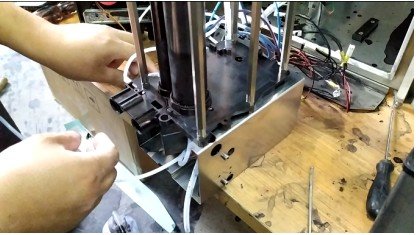
Then we put the mixing cylinder on, this must be stuck in place, otherwise it will leak ink:
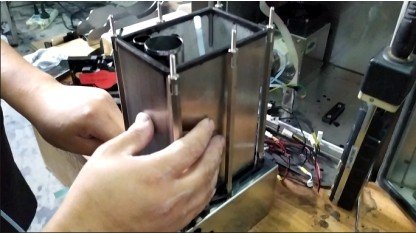
Let’s put the lid on
This O-ring must be put on:
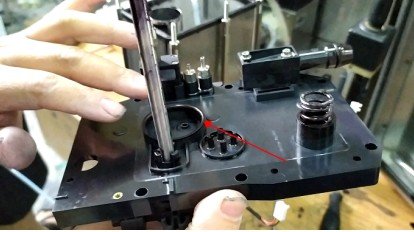
Let’s put the lid on:
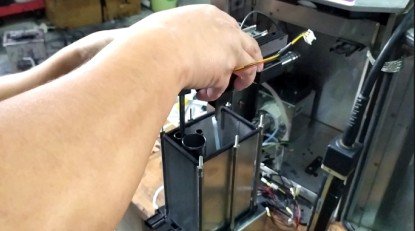
With screws installed, the mixing cylinder is basically installed:
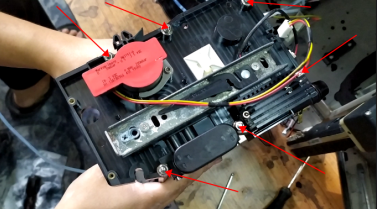
Be sure to tighten the screws.
Now put these two tubes on:
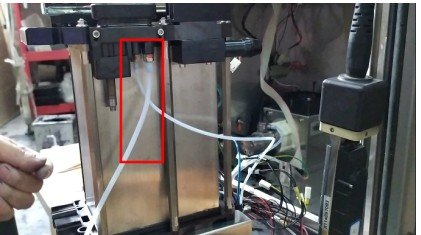
Then install the solenoid valve:
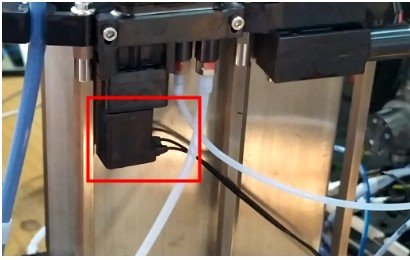
We installed the drive plate:
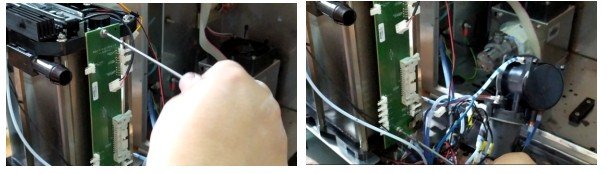
Put the lines in order, 12345:
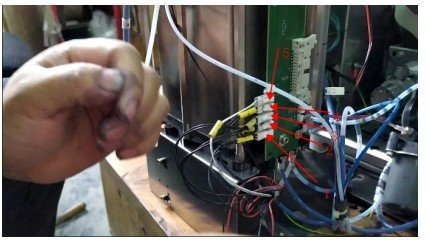
And then we plug the lines in now:
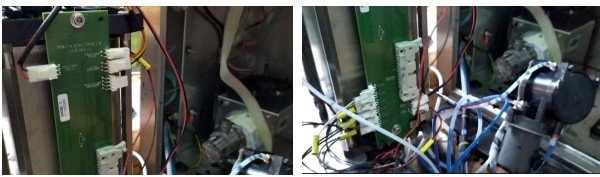
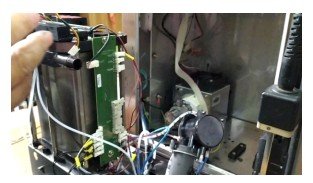
If these lines we want to tear down, we must remember, they are all in order, 12345
The jack above doesn’t have to be plugged in
Then one of the ones here was supposed to be connected to the cleaning pump:
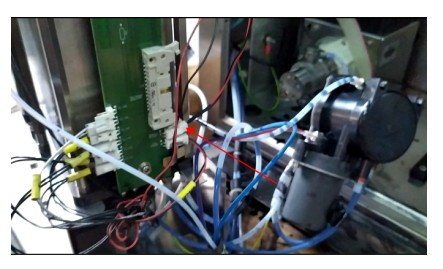
Then this wire is connected to the condenser:
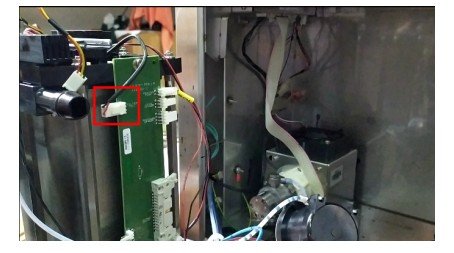
Be sure to remember.
Secure the pressure sensor, with a strap, be sure to secure it tightly:
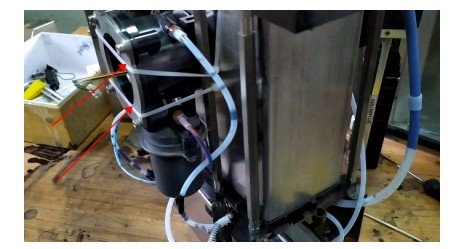
After this is fixed, then we plug in the line of the pressure sensor
Just this hole, plug in here:
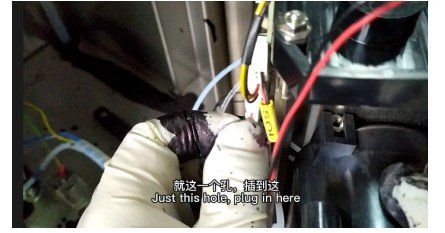
The mixing cylinder is already in place.
Special attention should be paid to the mixing cylinder washers and so on, check whether it is installed, whether it is crooked or deformed and so on
Be sure to see it
Otherwise when it comes to ink supply, it will leak air and ink:
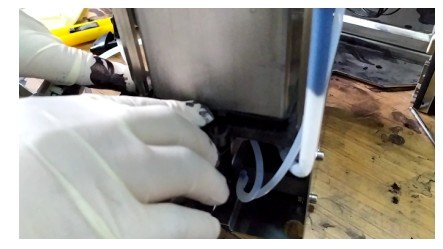
And above, it’s the same